Technical Specifications
Technical Specifications


Build Your Own Device: A Step-by-Step Guide
Introduction
Are you looking to unleash your creativity and technical skills by building your own device from scratch? In this guide, we will walk you through the process step-by-step, from selecting components to assembling the final product.
Step 1: Define Your Device
Before you start building, you need to have a clear idea of what type of device you want to create. Whether it's a smart home gadget, a robotic arm, or a custom IoT device, defining its purpose and functionality is crucial.
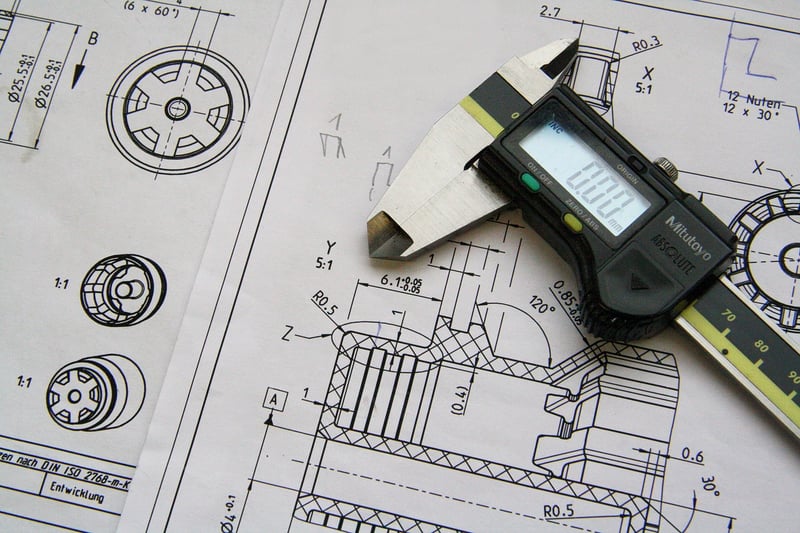
Step 2: Choose Components
Once you have a clear vision of your device, it's time to select the components you will need. This includes microcontrollers, sensors, actuators, power sources, and any other parts specific to your project.
Image source:
Step 3: Design the Circuit
Using tools like Fritzing or Eagle, design the circuit layout based on the components you have chosen. Ensure proper connections and consider factors like power distribution and signal routing.
Step 4: Prototype and Test
Build a prototype of your device to test its functionality. This step is crucial for identifying any issues or improvements needed before moving on to the final assembly.
Image source:
Step 5: Assemble the Device
Once you have successfully tested the prototype, it's time to assemble the final device. Follow the circuit design and assembly instructions carefully to ensure everything is connected correctly.
Technical Specifications
- Microcontroller: Choose a suitable microcontroller based on your project requirements, such as Arduino or Raspberry Pi.
- Sensors: Include sensors like temperature, motion, or proximity sensors to gather data.
- Actuators: Use actuators like motors or servos to control physical elements in your device.
- Power Source: Select a reliable power source that can adequately power all components.
- Connectivity: Decide on the connectivity options, such as Wi-Fi, Bluetooth, or Zigbee, based on your device's communication needs.
Conclusion
Congratulations! You have now successfully built your own device from scratch. The process of designing, prototyping, and assembling a custom device not only enhances your technical skills but also allows you to unleash your creativity in the world of DIY electronics.